


Let customers speak for us
I’ve used this tool numerous times with great results. It’s paid for itself many times over.
Dayton Lau

Nut & Saddle Sander
Perfect fit, quick shipping, would recommend
Etsy customer

7 String Soapbar Guitar Humbucker Routing Template
High quality, accurate luthiery tools. I will definitely order more.
Etsy customer

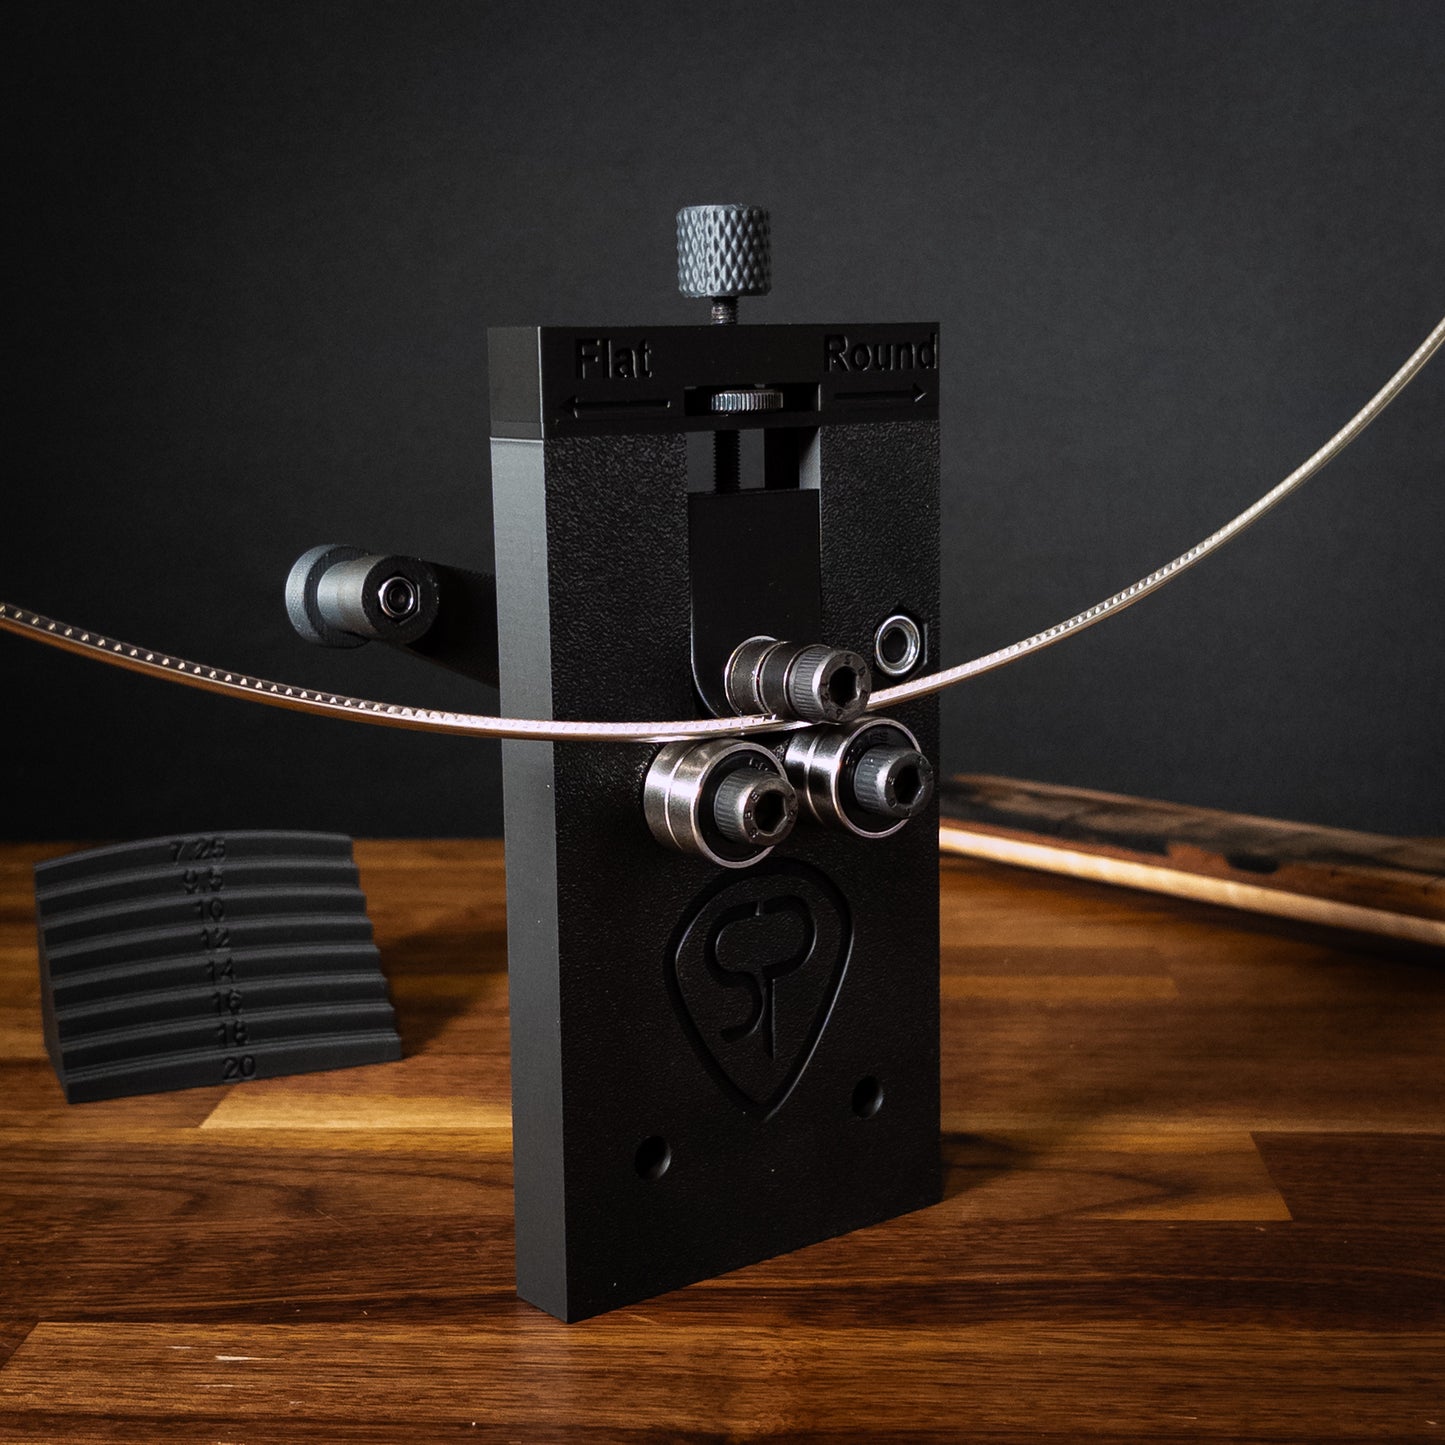
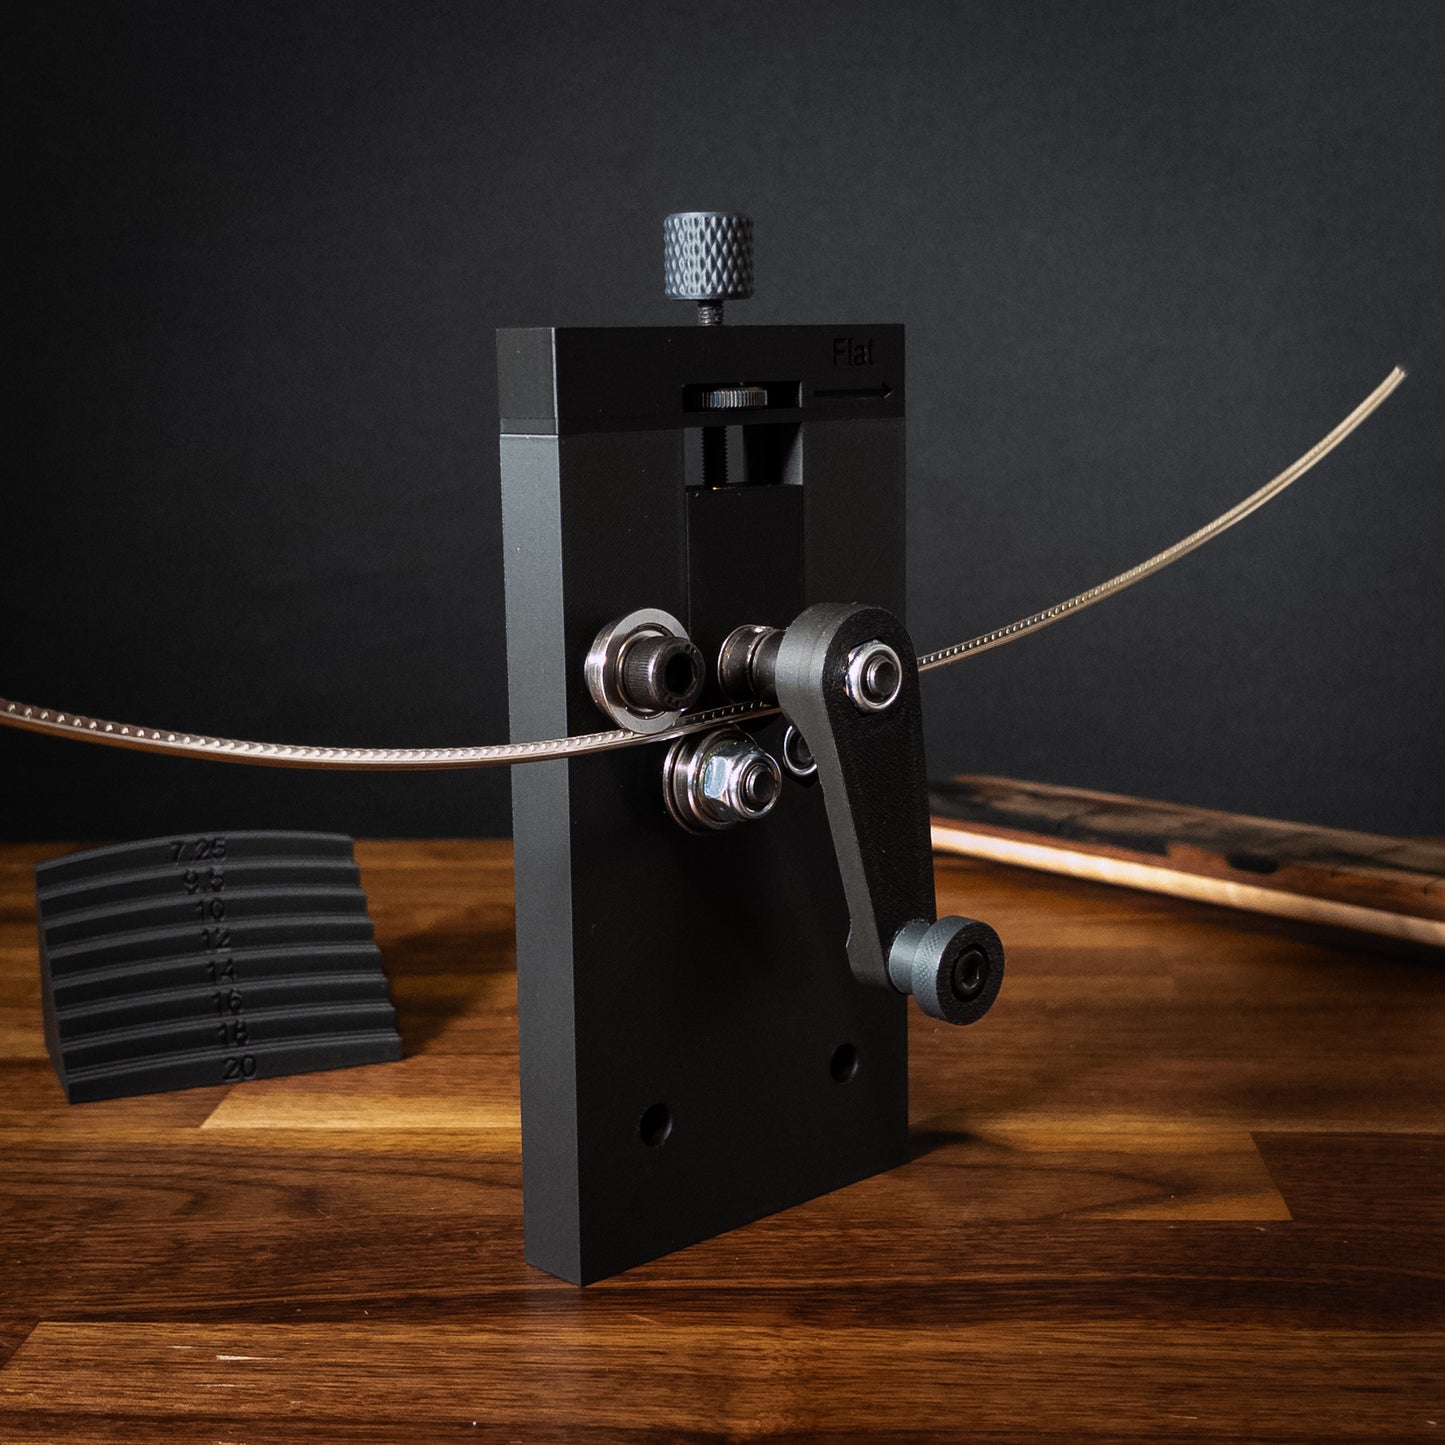
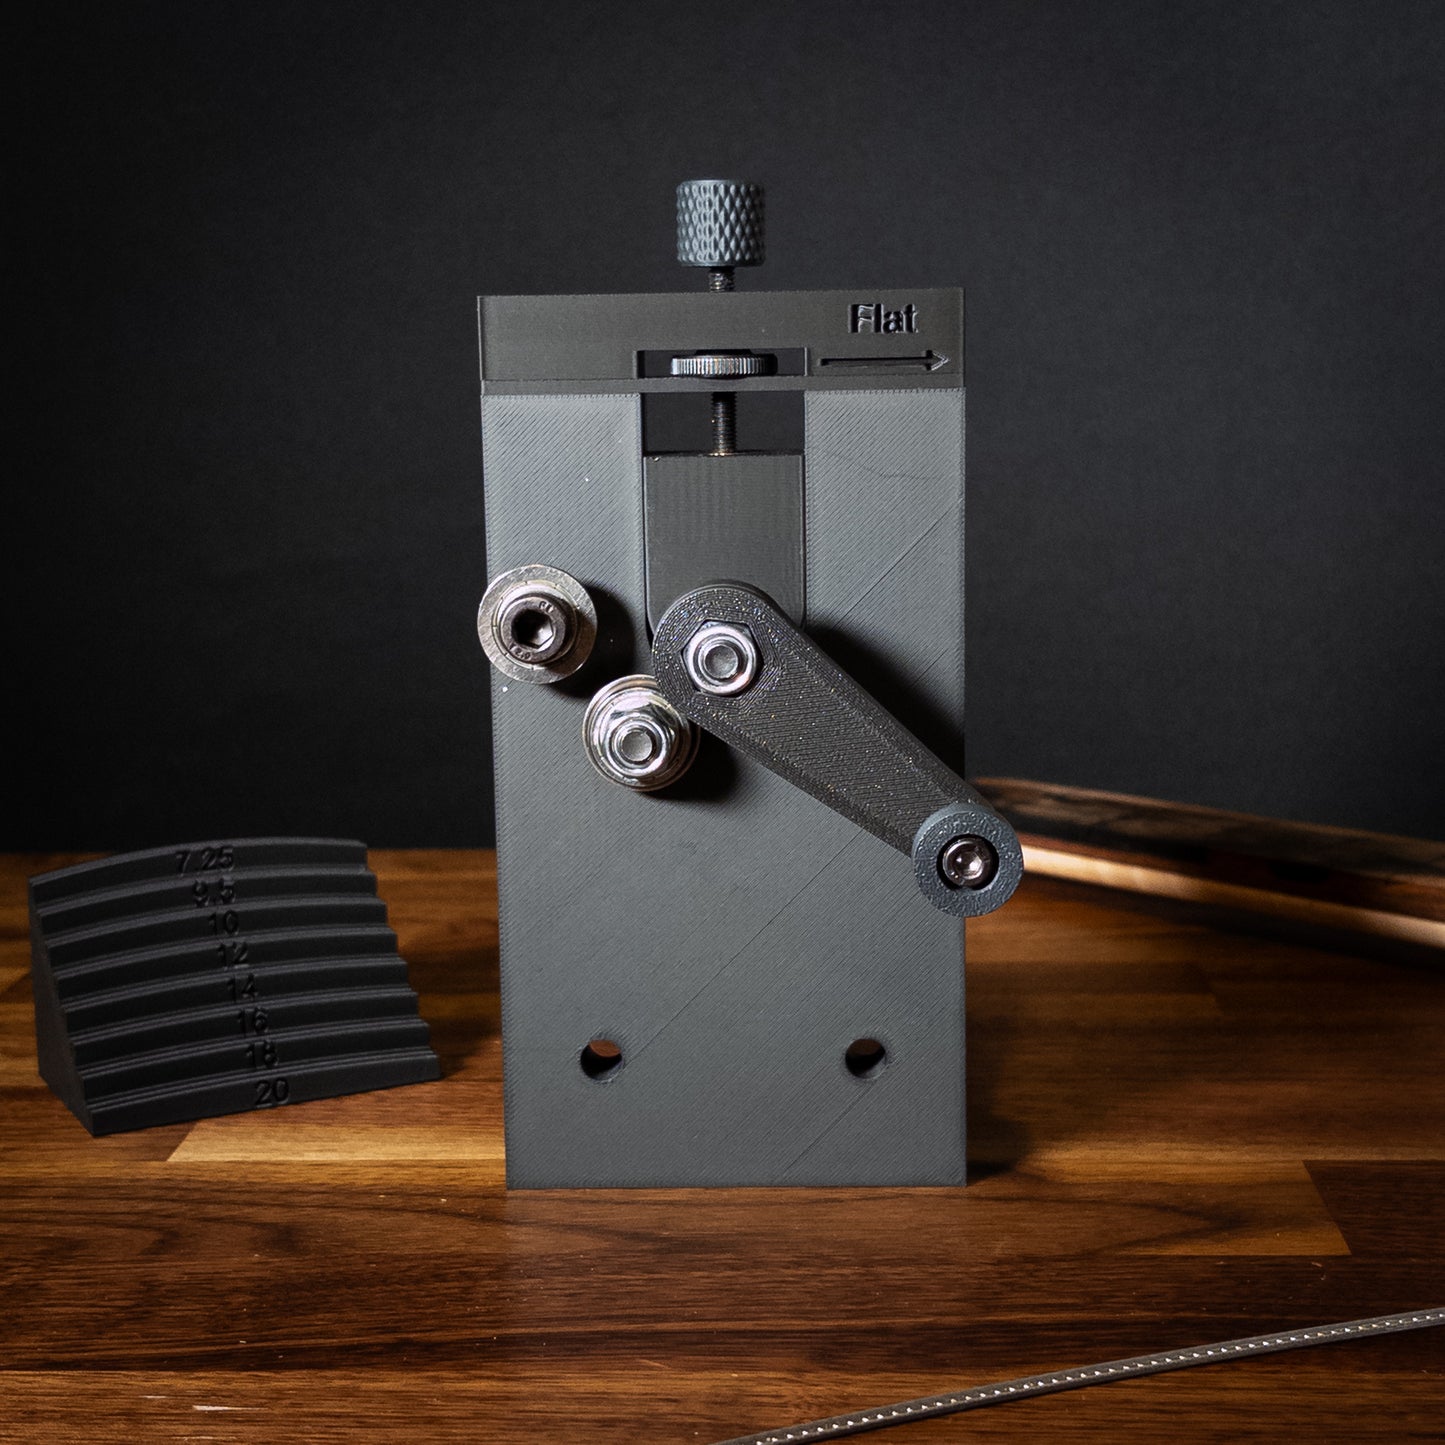
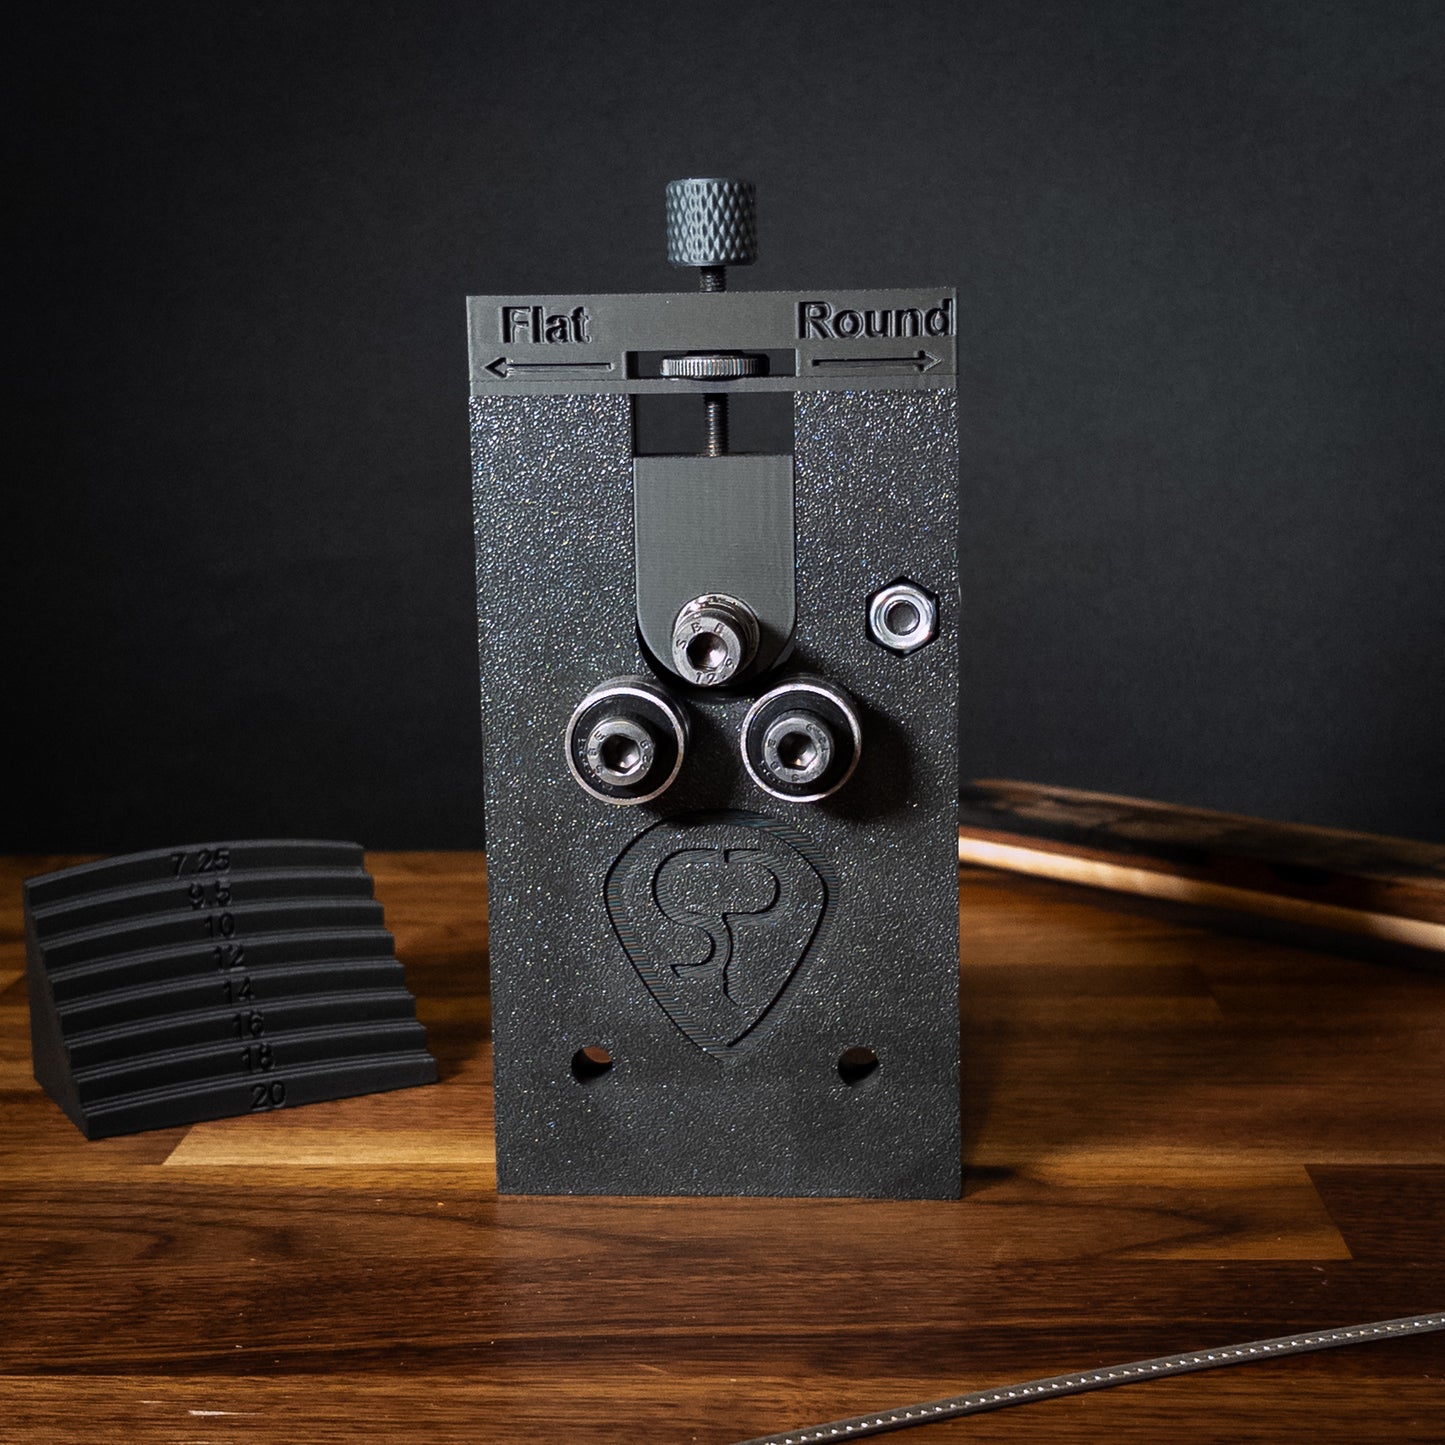
Fretboard Radius Jig
Extremely well built! Makes radiusing the fretboard quick, simple and most importantly, accurate. It immediately became a "must have". Combine this with the sanding blocks and you are on your way!
Etsy customer
Fretboard Radius Jig
I used it a few times, really good for grading the radius that's required. Good tool to have.
Michael Pines
Fretboard Radius Jig
Works as it should. Makes radiusing a fret board much faster than sanding.
Michael Schuerman
Fretboard Radius Jig
Great product that gets the job done well
Anonymous

Radius Sanding Block for Extended Range Guitars (3.5″ Wide)