We recommend a long straight bit with a 3/8″ cutting diameter such as the Whiteside 1023.
1. Setting the Height:
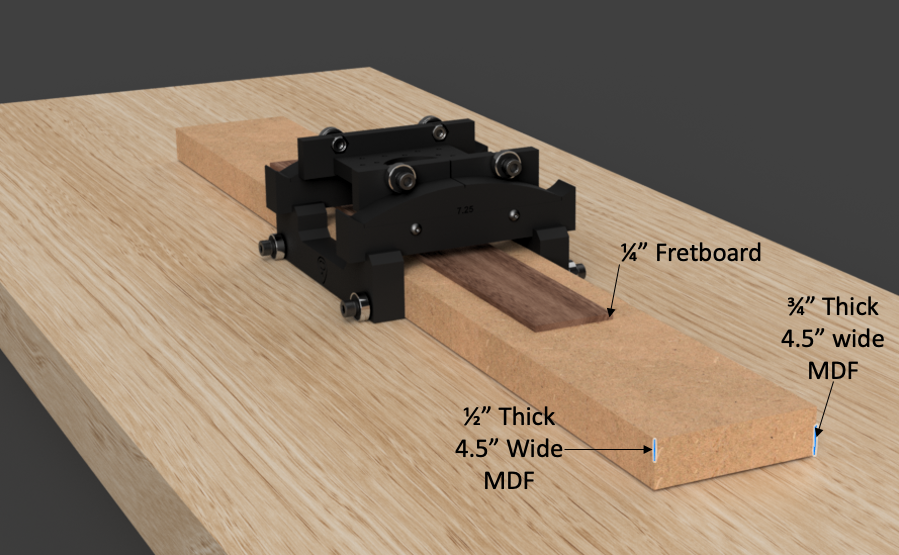
Choose the thickness of your preferred board material (MDF, plywood, or hardwood) such that, when placed on your working surface, there’s a 1.5-inch height from the top of the surface to the top of the fretboard.
Importance of 1.5-inch Height: The radius inserts are designed to compensate for the distance from where the router base contacts the radius insert to the top of the fretboard. This height ensures an accurate radius replication. If the setup has a height less than 1.5 inches, there’s a risk that the resulting radius on the fretboard may be rounder than intended.
2. Board Preparation:
Cut the chosen board material to a width of 4.5 inches (6.5" for extended range version). Ensure the edges are straight and the board is free from defects.
Securing the Materials:
3. Use double-sided tape to affix the board to your workbench securely.
4. Positioning the Fretboard:
Center the fretboard onto the affixed board, ensuring even spacing on all sides. Once positioned correctly, use double-sided tape to secure the fretboard in place.
Note: Carefully inspect the fretboard to verify there are no raised sections or uneven areas that might interfere with the routing process.
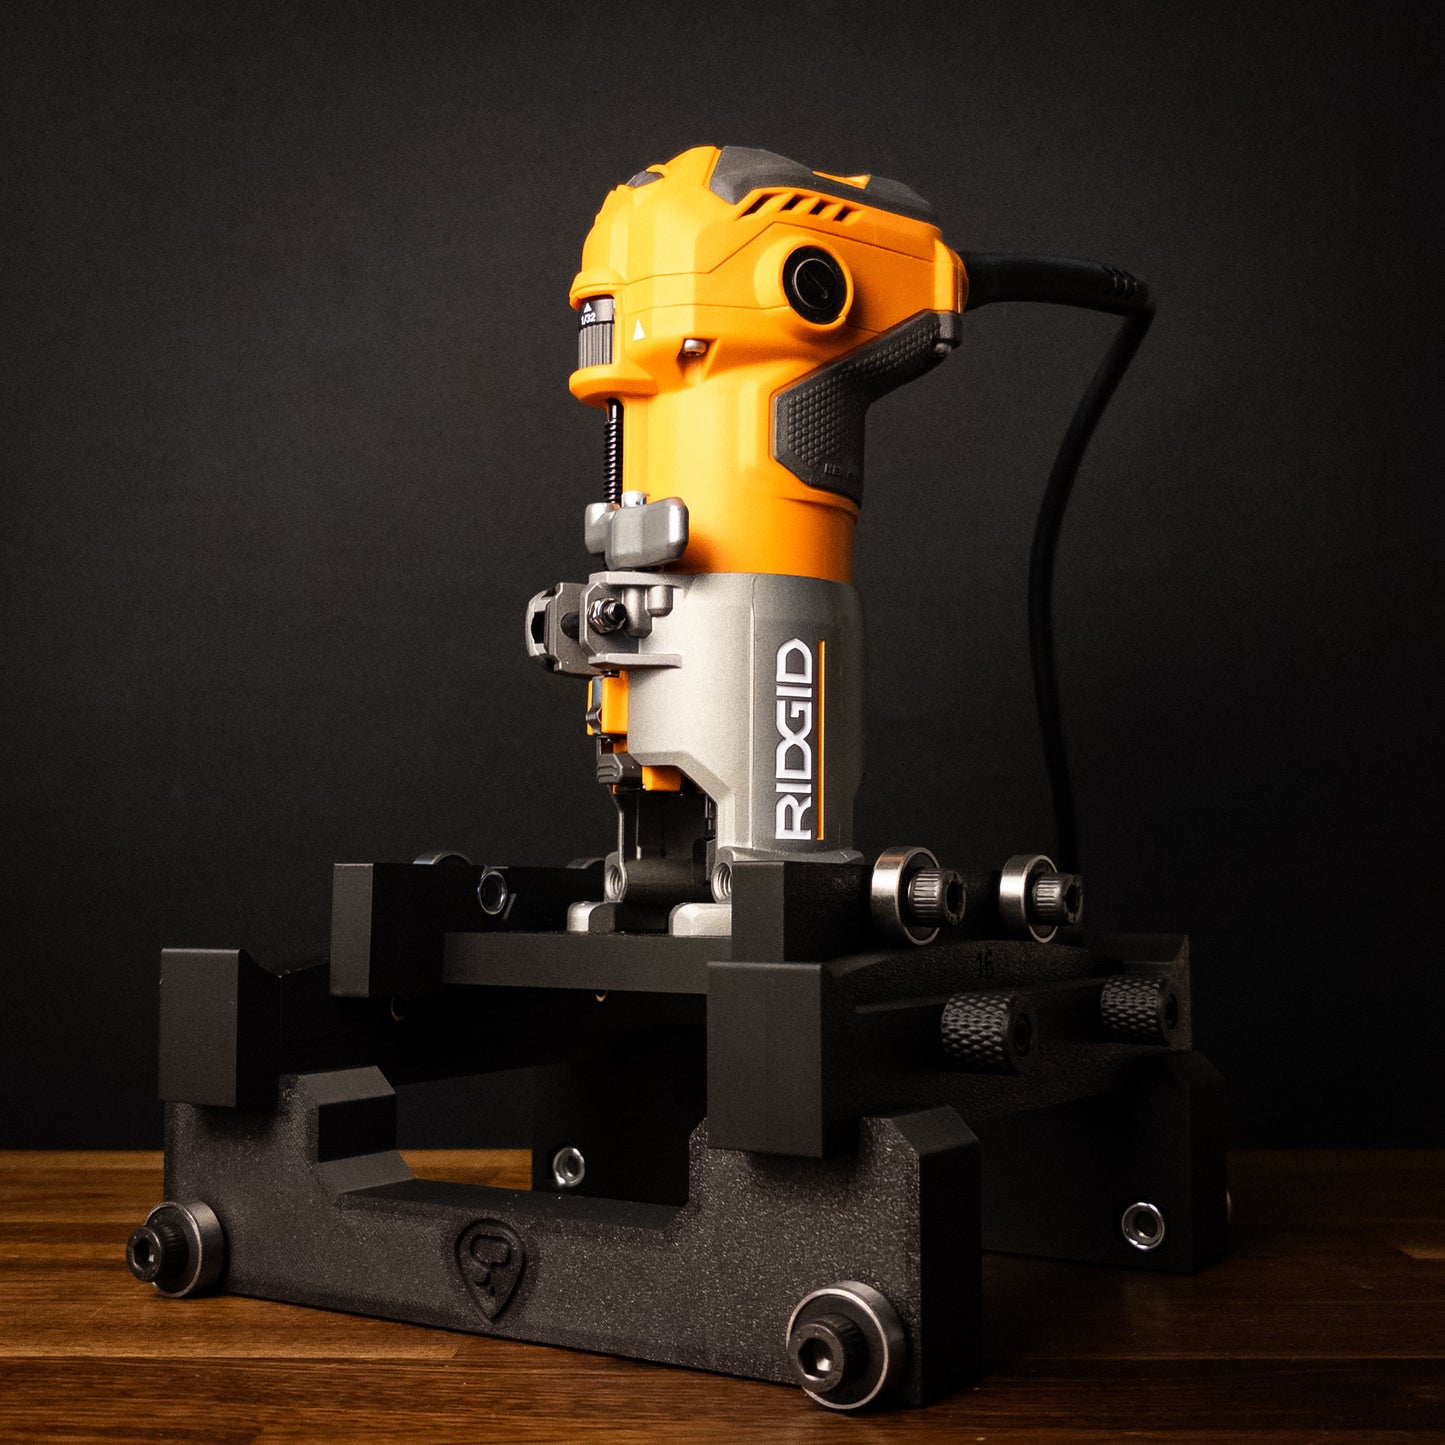
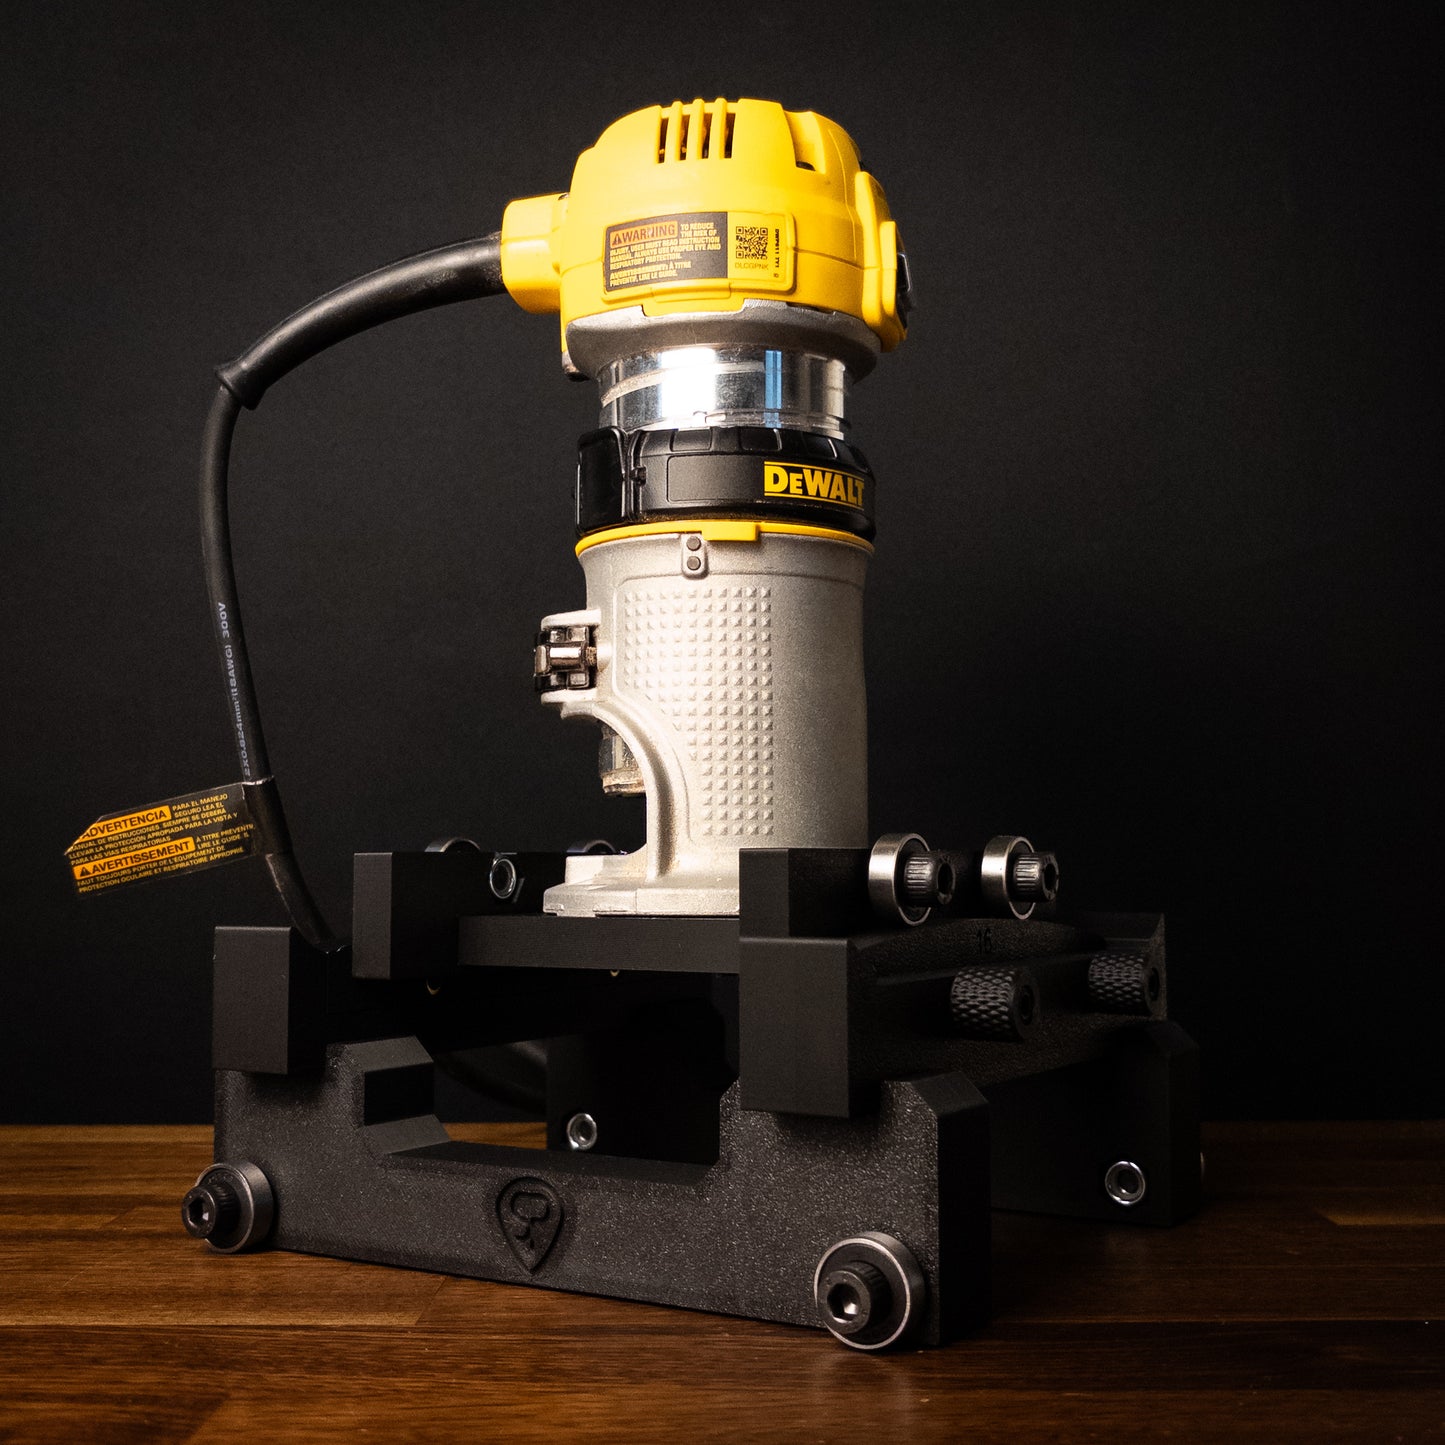
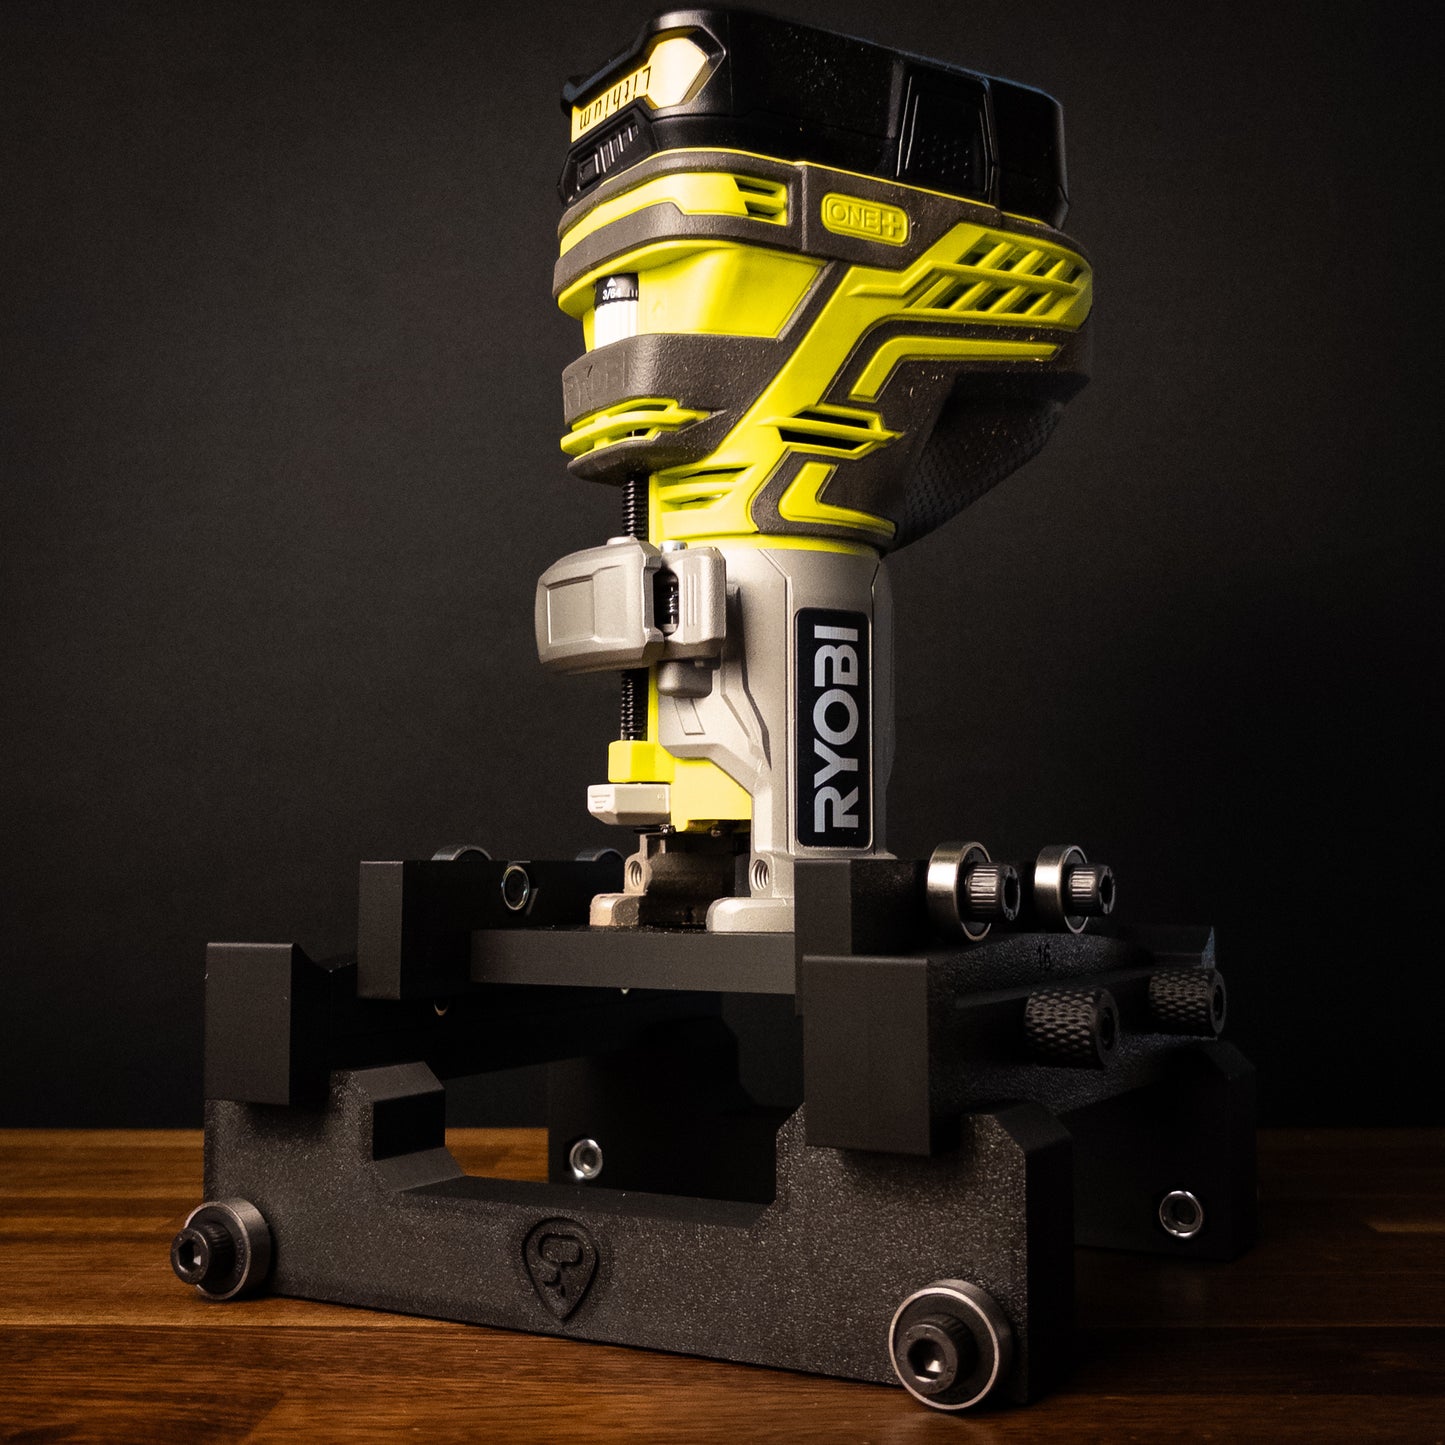
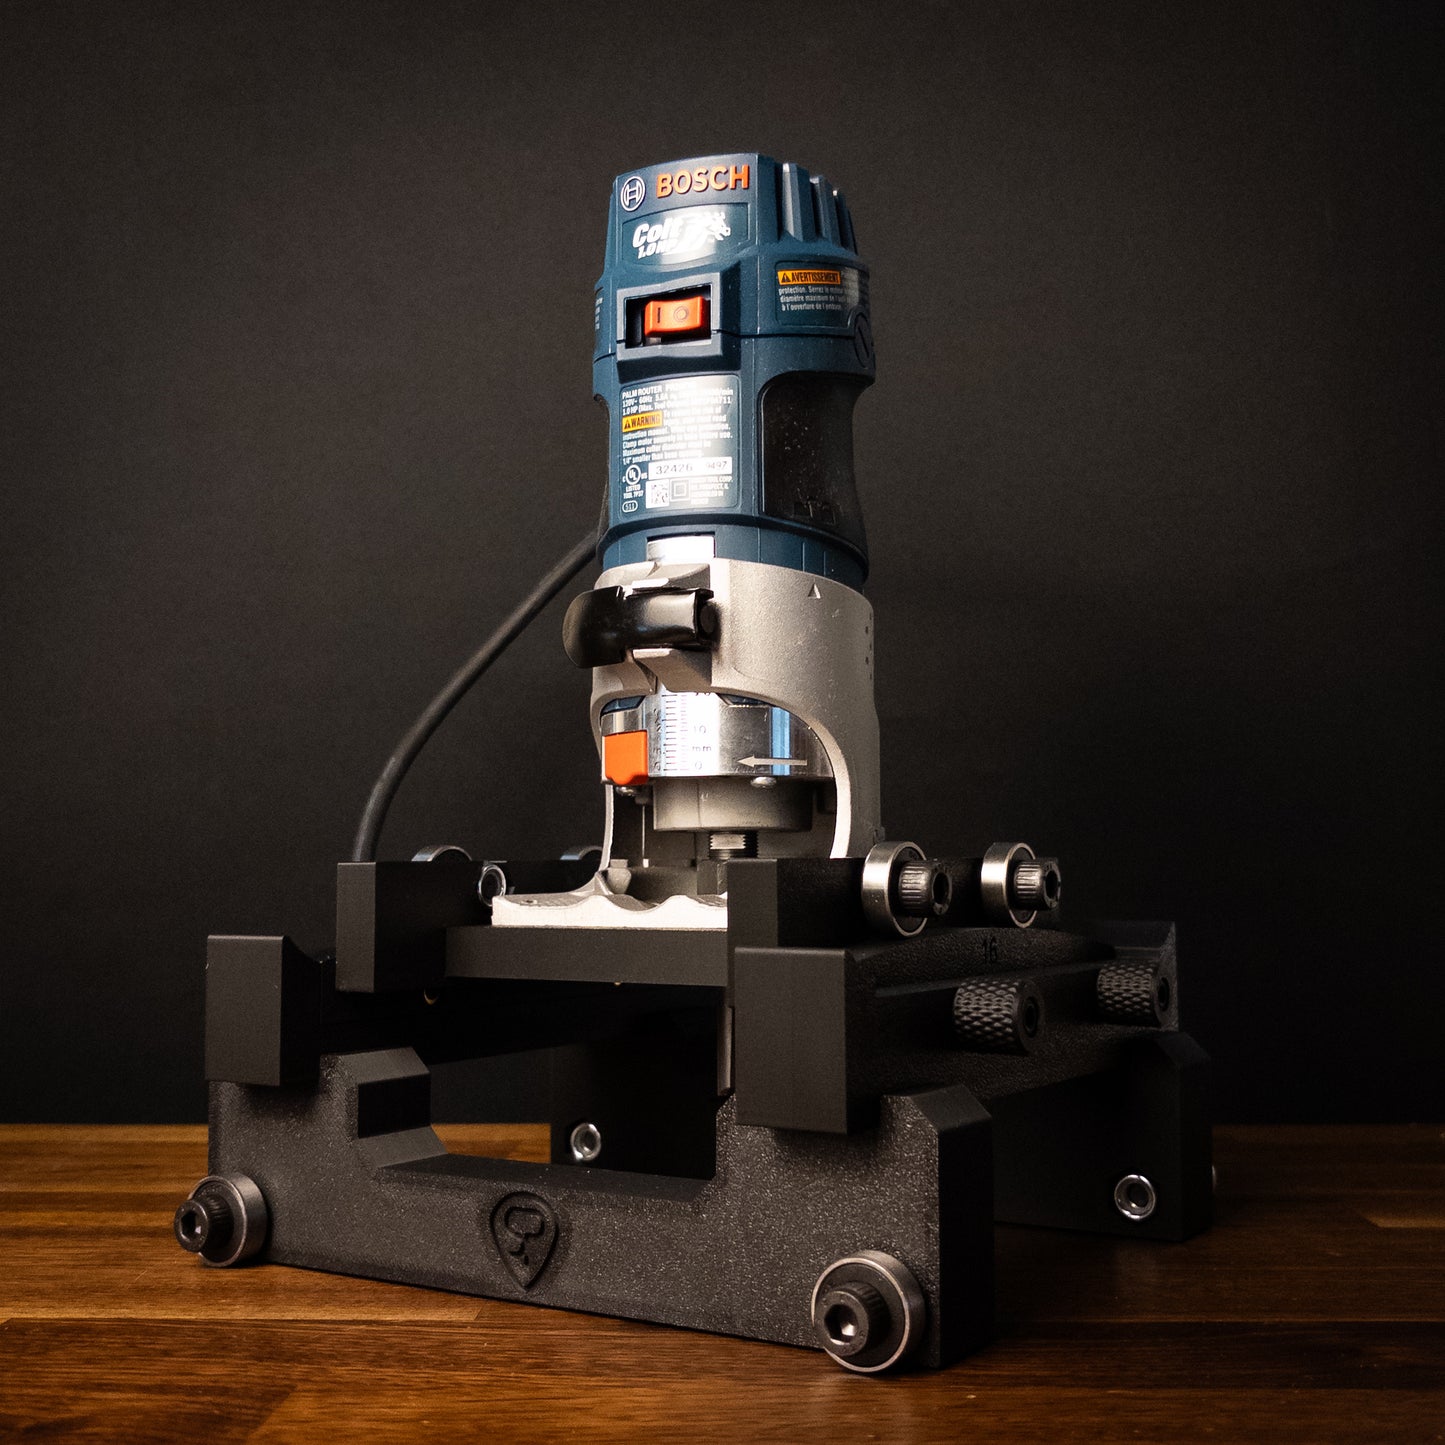
5. Attaching the Jig:
Attach the jig to the router base using the provided screws, ensuring a firm and secure fit.
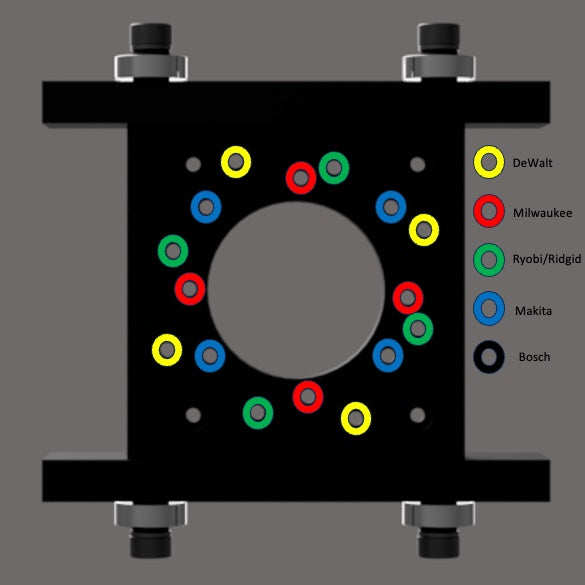
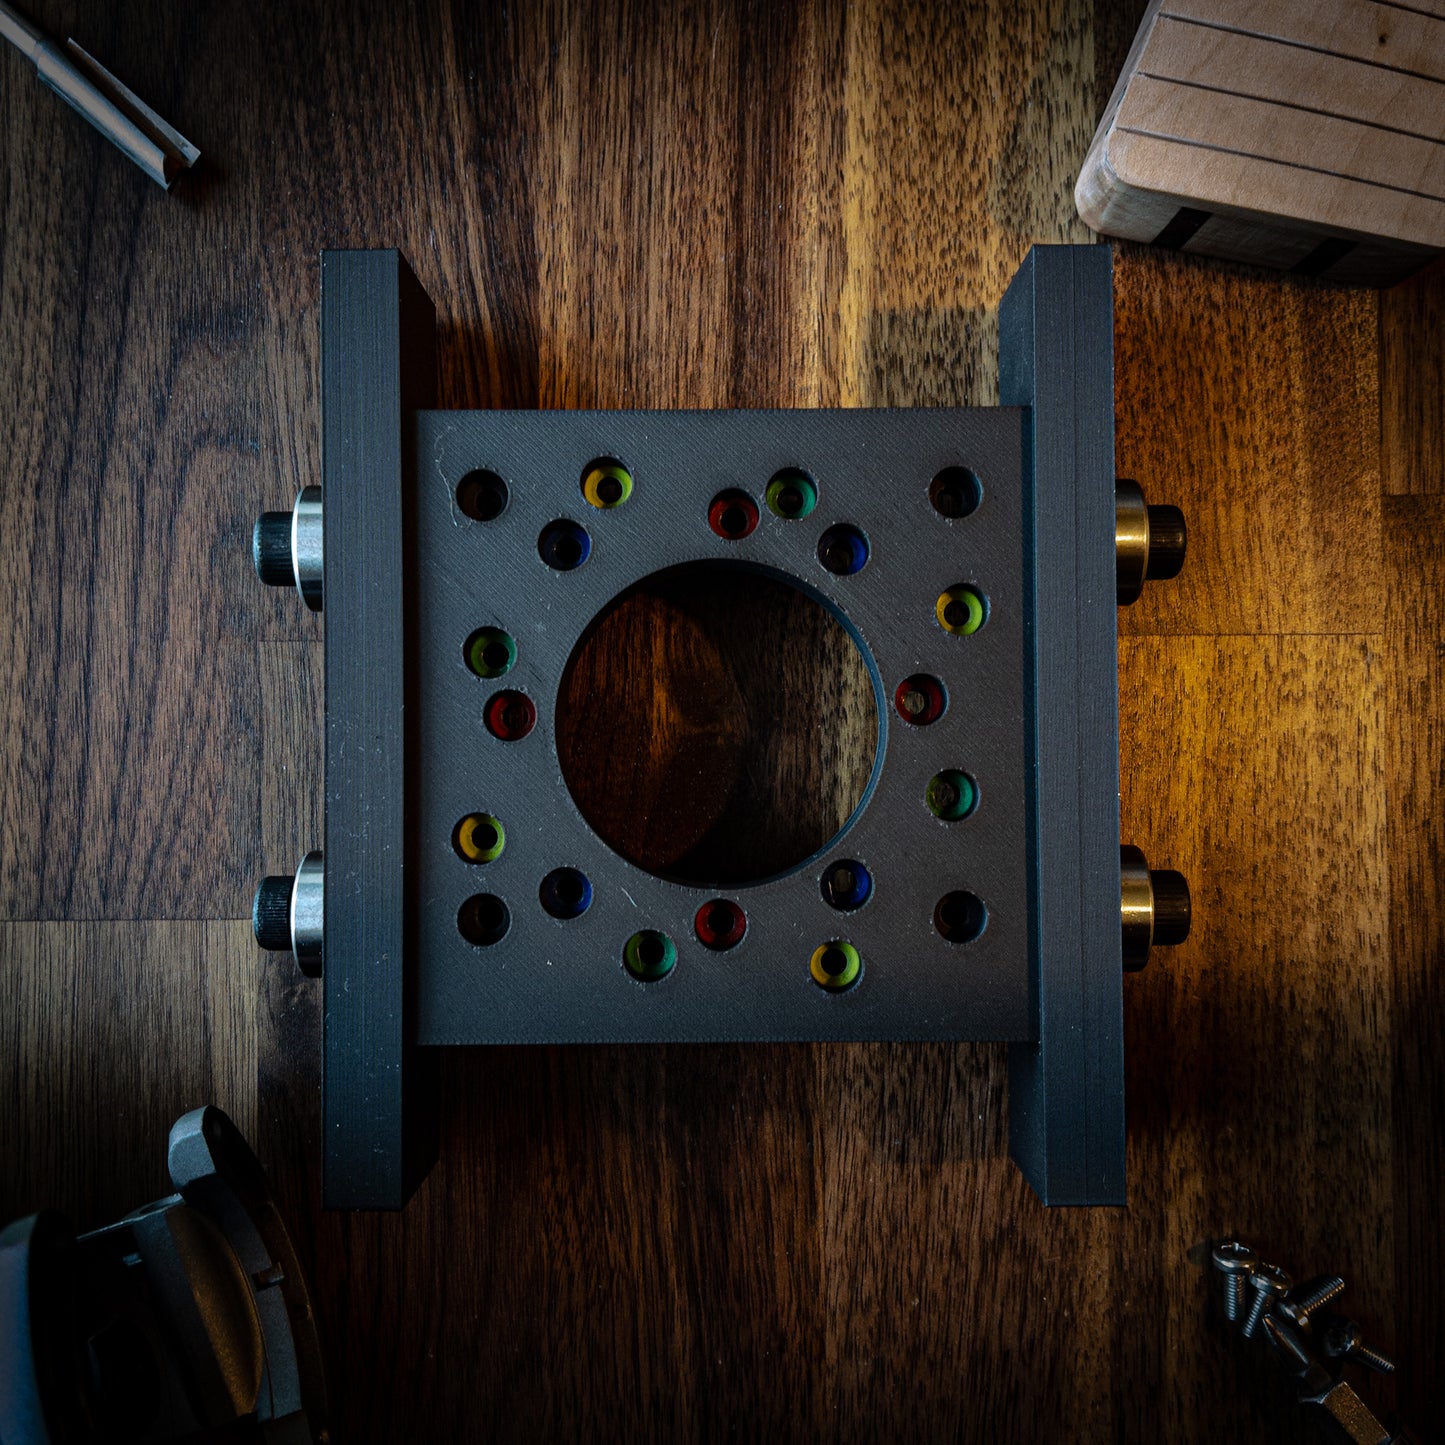
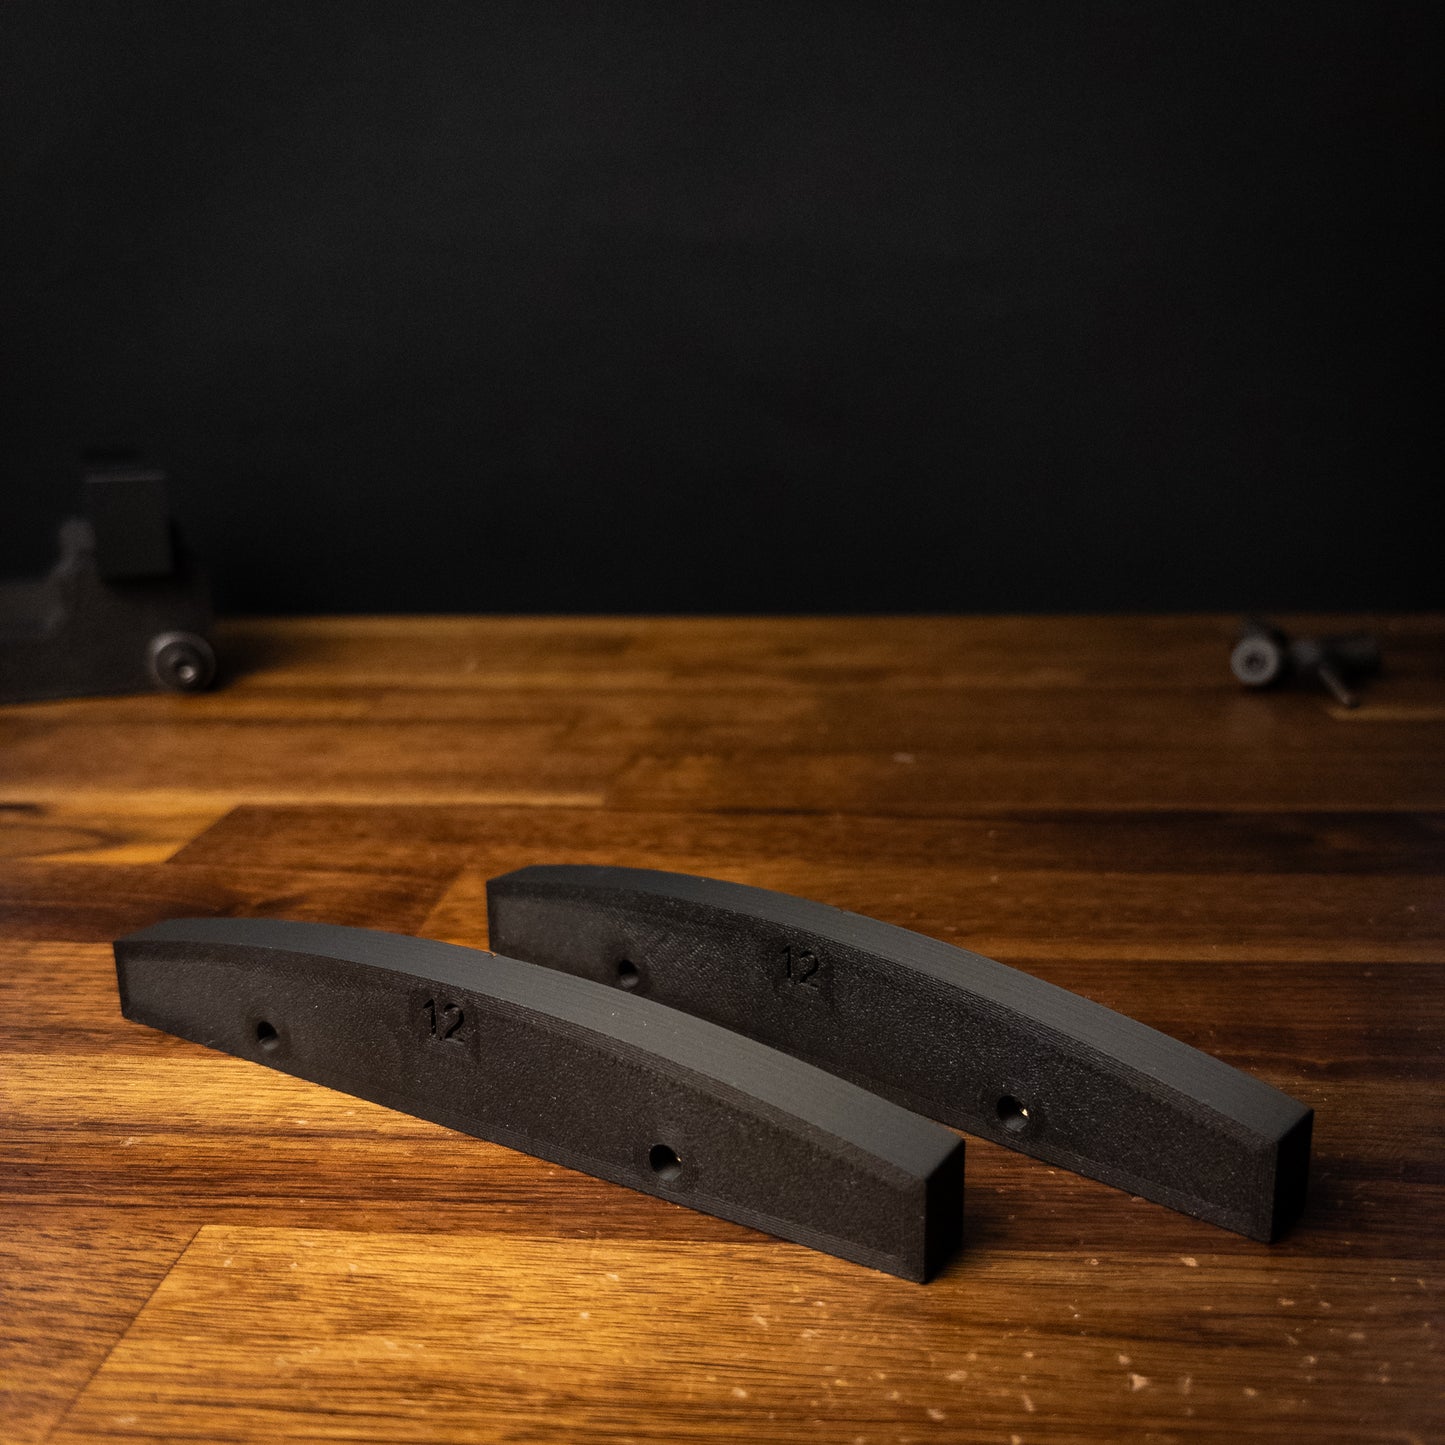
6. Installing Radius Inserts:
Slide the desired radius inserts into the slot located in the jig’s body. Once properly positioned, tighten the set screws to secure the inserts in place.
7. Placing the Jig Body:
Position the Fretboard Radius Router Jig body onto the setup constructed in steps 1-4.
8. Positioning the Router:
Place the router base onto the jig body, ensuring it aligns correctly and sits stably. Make sure all four bearings on the router base are making contact with the radius insert for accurate routing.
9. Centering the Router:
Align the router using the center lines provided on both the router base and the radius insert.
10. Adjusting the Router Bit:
Carefully lower the router bit until it barely touches the fretboard. We advise against using a spiral bit for this process. Opt for a straight bit for the best results.
11. Starting the Routing Process:
Slide the jig in a manner that the router bit is clear of any wood. With the bit in a clear position, safely turn the router on, readying it for the routing process.
12. Routing the Fretboard:
Begin routing the fretboard. Ensure the router base bearings maintain contact with the radius insert at all times. Move with the grain of the wood. After completing each pass, slide the router base laterally to start a new path, ensuring full coverage of the fretboard surface.